Creating your own pillowcases can be a fun and rewarding DIY project that allows you to customize your bedding and add a personal touch to your home decor. Whether you're looking to match your bedroom's aesthetic or explore a new craft, making your own pillowcases offers endless possibilities.
In this article, we’ll walk you through the essential materials, step-by-step instructions, and helpful tips for creating beautiful, custom pillowcases that you'll be proud of.
Benefits of Making Your Own Pillowcases

Making your own pillowcases offers customization, allowing you to choose fabrics, styles, and sizes that perfectly match your bedroom decor. It's a cost-effective option, providing savings while giving you control over the quality and comfort. Plus, it’s a fun, creative project that can enhance your DIY skills and sustainability efforts.
Customization, Fit, and Style
One of the most exciting benefits of making your own pillowcases is the ability to fully customize them to suit your personal taste and needs. You can choose fabric colors, patterns, and even unique finishes that match your bedroom decor. Additionally, you can adjust the size to fit your pillows perfectly, ensuring a snug and comfortable fit.
Cost-Effective
Making your own pillowcases is often much more affordable than buying them from stores. By choosing fabric that fits your budget and avoiding markup prices from retailers, you can create beautiful, high-quality pillowcases for a fraction of the cost.
Better Fabric Choices
When you make your own pillowcases, you have full control over the fabric you use. Whether you prefer cotton, linen, silk, or another material, you can select the one that best suits your skin sensitivity and sleep preferences. This allows you to invest in fabrics that are comfortable, breathable, and long-lasting.
Budget-Friendly and Sustainable
DIY pillowcases are a great sustainable option because they allow you to repurpose old materials or leftover fabric from previous projects. Not only does this reduce waste, but it also helps you avoid purchasing mass-produced items that contribute to environmental harm.
Easy for Beginners
Creating pillowcases is an excellent project for beginners looking to learn basic sewing techniques. With simple sewing patterns and easy-to-follow steps, even those new to crafting can successfully make their own pillowcases. It’s a perfect introduction to the world of DIY home decor.
Skill Building
As you sew pillowcases, you’ll gain valuable sewing skills that can be applied to other projects. Mastering the art of sewing straight seams and handling different fabrics will provide a solid foundation for future sewing projects, such as curtains, bedding, or even clothing.
Materials Needed for DIY Pillowcases
To embark on your pillowcase-making journey, you'll need to gather some essential materials. Here's a comprehensive list to help you get started:
Fabric
Choose fabric that matches your style and preference. Cotton is a popular option for its breathability, but you can experiment with linen, silk, or flannel for a different feel. Make sure to have enough fabric based on the size of the pillowcase you’re making.
Sewing Machine (Optional)
While you can hand-sew pillowcases, a sewing machine will save time and give your pillowcases a polished look. If you don't have a sewing machine, don’t worry—hand-stitching works just as well for beginners.
Thread
Select a thread that matches your fabric. Make sure the thread is strong and durable enough to hold the seams together, as pillowcases need to withstand frequent washing.
Scissors
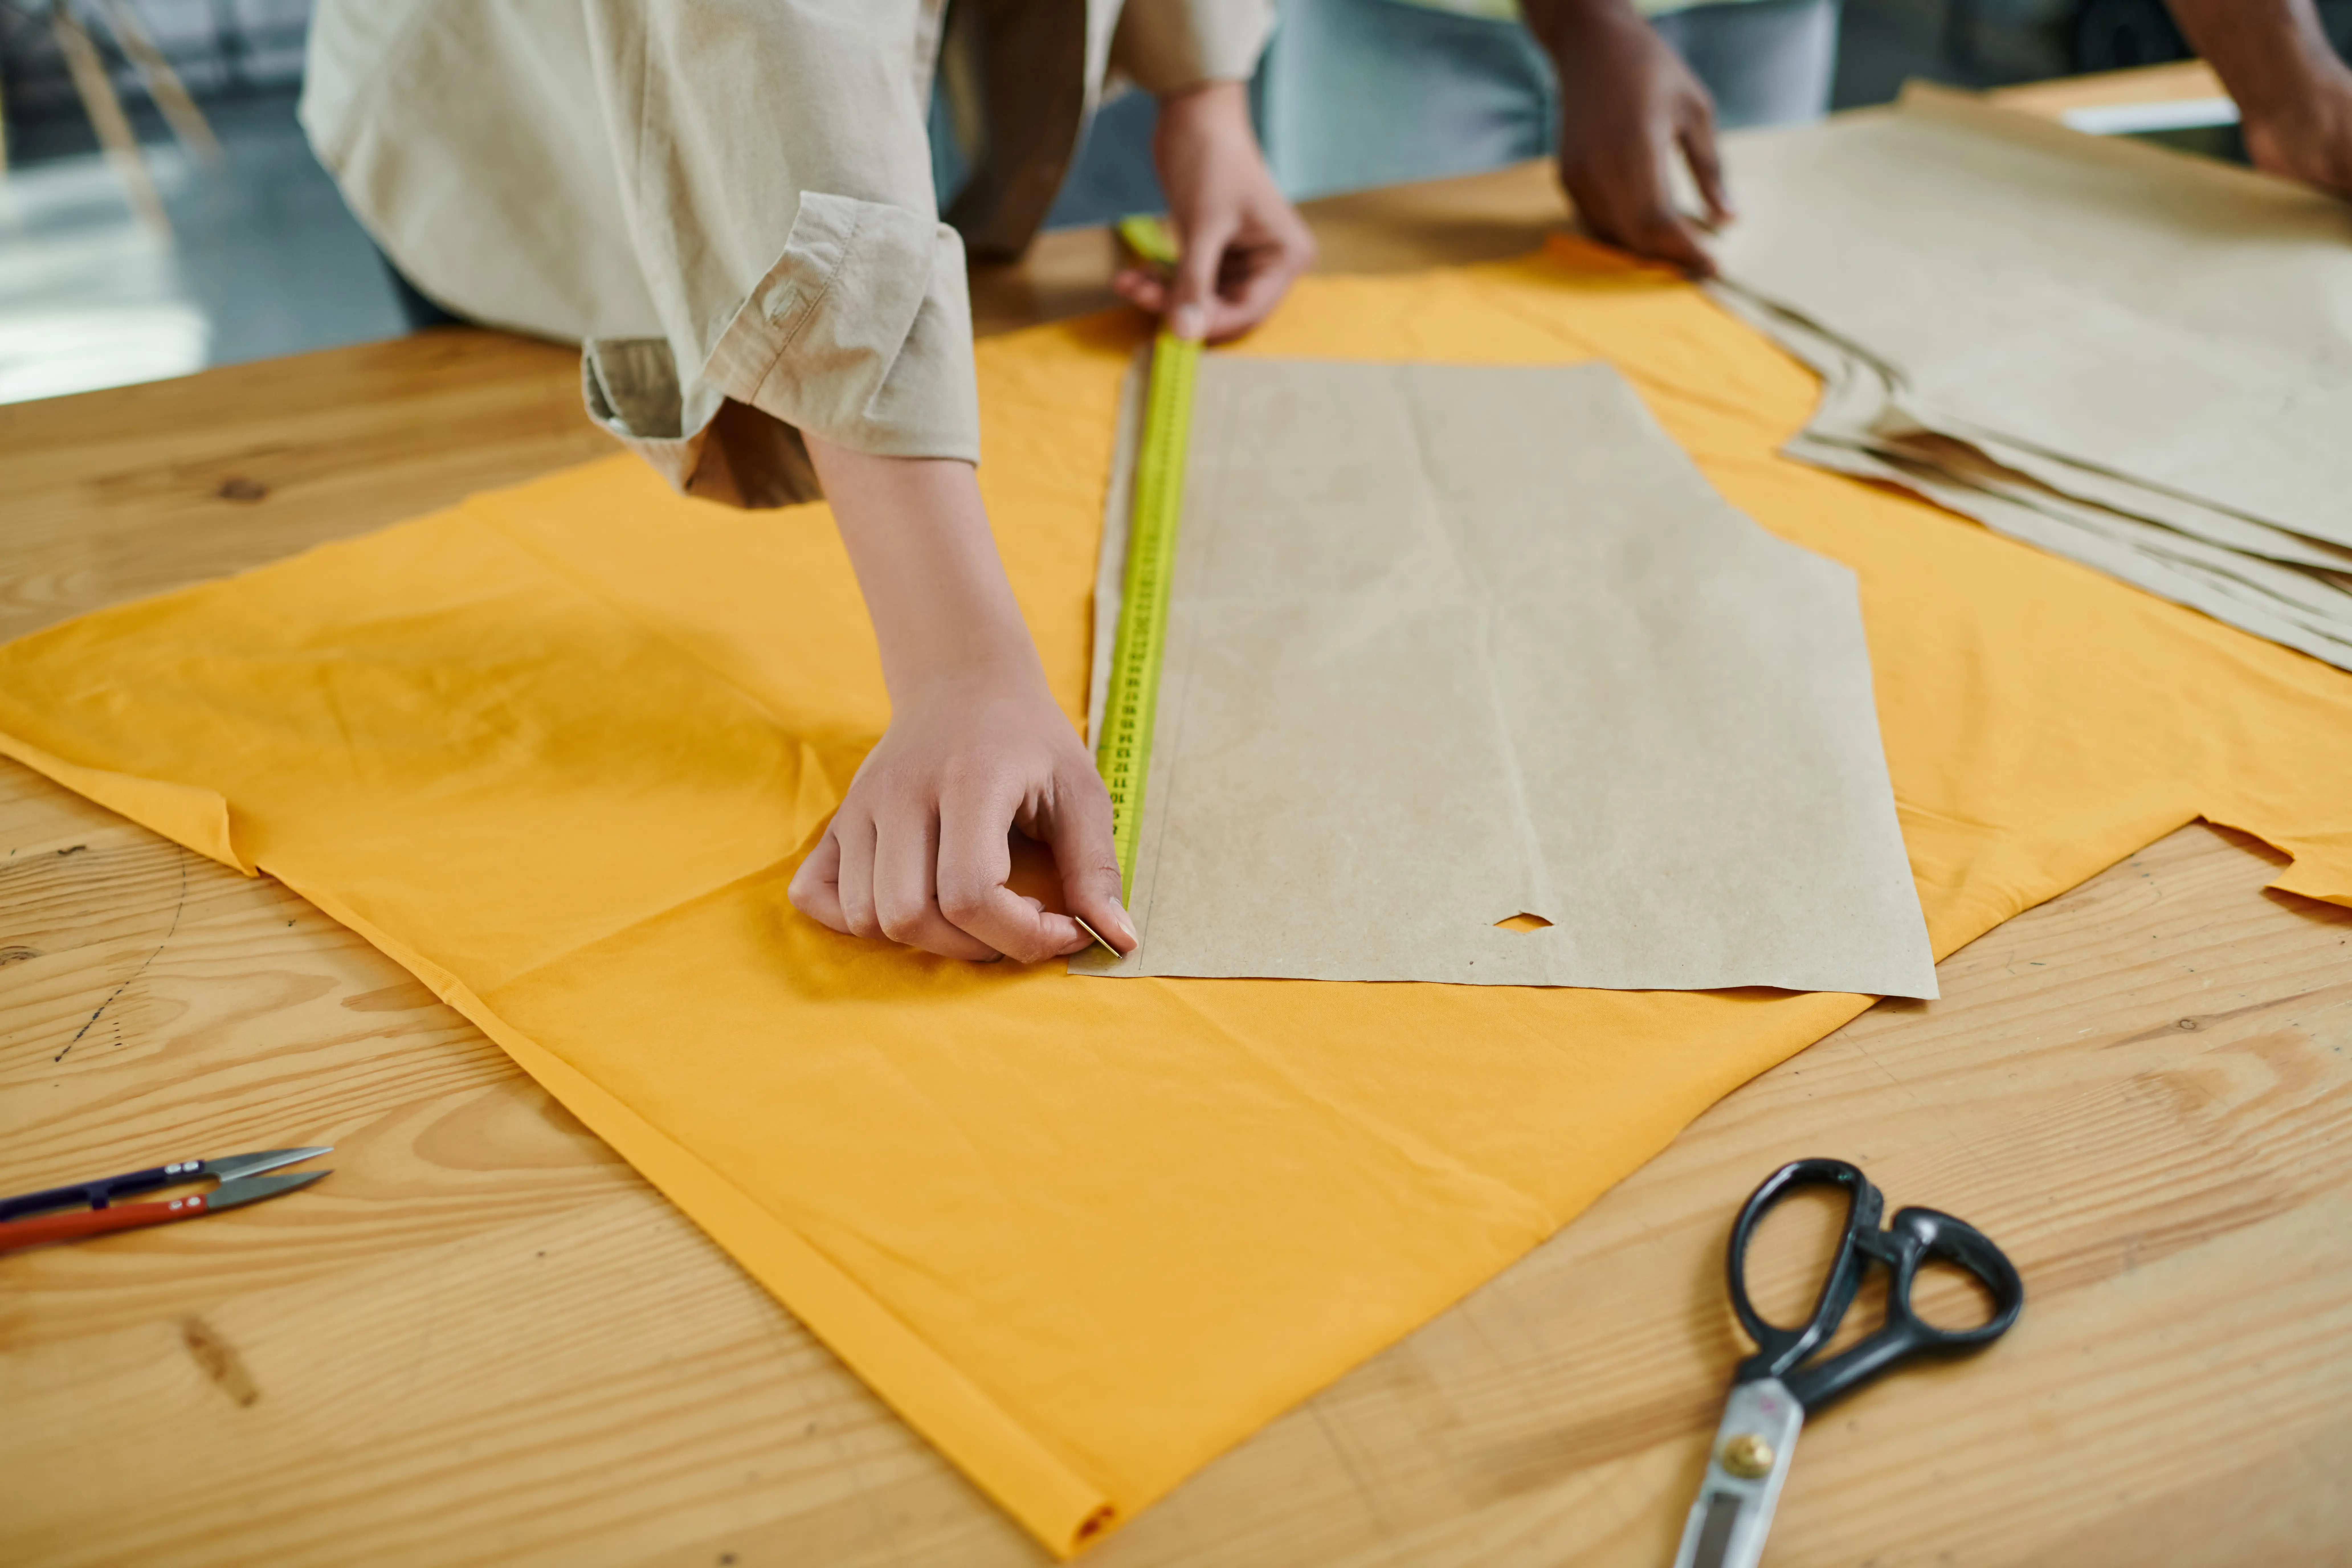
A sharp pair of fabric scissors is essential for cutting your fabric pieces with clean edges. Dull scissors can cause the fabric to fray, so be sure to keep them sharp.
Pins
Pins will help hold your fabric in place while you sew, ensuring the pieces don’t shift and your stitching is even. You can also use fabric clips if you prefer not to use pins.
Measuring Tape
Accurate measurements are crucial to ensure that your pillowcase fits your pillow perfectly. A measuring tape will help you determine the correct dimensions.
Iron
Before cutting your fabric, it’s important to press it with an iron to remove wrinkles. Ironing also helps to ensure precise stitching and a neat finish when your pillowcases are complete.
Optional Embellishments
You can add a personal touch to your pillowcases by incorporating embellishments like lace, embroidery, buttons, or decorative trims. These optional additions can elevate the look of your pillowcases and add a unique flair to your project.
How to Make a Basic Envelope Pillowcase
Embarking on your DIY pillowcase project involves several key steps to ensure a successful outcome. Follow this step-by-step guide to bring your vision to life:
Measure Your Pillow
Start by measuring the size of your pillow. A standard pillow measures about 20x26 inches, but it’s essential to measure your own pillow to ensure a perfect fit. Add about 2-3 inches on all sides for seam allowances.
Cut Fabric
Once you have your measurements, cut the fabric. You'll need one rectangle for the front and two pieces for the back. The back pieces will overlap to form the envelope closure. Cut the fabric, keeping in mind the seam allowance and any additional design details like borders or embellishments.
Hem the Open Edge
To prevent the fabric from fraying, hem the edges of the back pieces. Fold the raw edge over about ½ inch, then fold again to encase the raw edge. Iron the fold to make it crisp, and sew along the edge to secure it.
Fold and Pin
Lay your front piece flat and place the two back pieces on top. Ensure the hemmed edges overlap and the fabric is aligned properly. Pin the edges of the pillowcase to keep everything in place.
Sew the Seams
With your fabric pinned in place, sew along the sides and top edges of the pillowcase. Use a straight stitch for a clean finish and reinforce the seams for durability. Leave the bottom open to create the opening for the pillow.
Add Embellishments
If you’re adding decorative touches like piping, lace, or embroidery, now is the time to incorporate them. You can sew them along the edges of the pillowcase or add them to the front for a unique design.
Turn Right Side Out and Press
Once the seams are sewn, turn the pillowcase inside out so the right side of the fabric is facing out. Use an iron to press the pillowcase flat, ensuring crisp seams and a professional finish. Now your envelope pillowcase is ready for use!
Optional Pillowcase Styles and Designs You Can Try

When it comes to designing your pillowcases, the possibilities are endless. Here are some creative ideas to inspire your next project:
Zippered Pillowcase
For a more secure closure, try adding a zipper. It’s an easy way to keep the pillow snug inside the case while adding a neat, polished look. A zipper also makes washing easier and ensures the pillow stays in place.
Ruffled or Piped Edges
Add a bit of elegance and flair by sewing ruffles or piping along the edges of your pillowcase. These decorative touches give a sophisticated look to a basic pillowcase, perfect for adding charm to your bedding.
Patchwork Pillowcases
If you love working with different fabrics, patchwork pillowcases are a fun way to showcase your creativity. Combine various fabric pieces to create a beautiful and unique design.
Monogrammed Pillowcases
Personalize your pillowcase with embroidered initials or a monogram. This classic touch adds a custom element to your bedding, making it extra special for yourself or as a thoughtful gift.
Hand-painted Patterns
For an artistic touch, consider hand-painting your pillowcase with fabric paint. You can create anything from simple geometric patterns to intricate designs that express your personal style.
Themed Pillowcases
Themed pillowcases are a fun way to tie in a design element for a specific season, occasion, or bedroom theme. Consider holiday-themed pillowcases or fun designs like florals, stripes, or animal prints.
Reversible Pillowcases
Make your pillowcases versatile by creating a reversible design. Choose two complementary fabrics and make each side distinct so you can switch up the look depending on your mood or the season.
Tips for Choosing the Right Fabric
Selecting the appropriate fabric is a crucial step in ensuring your pillowcases are both comfortable and stylish. Consider the following tips when making your choice:
Texture and Feel
Opt for fabrics that feel good against your skin, especially since pillowcases come into direct contact with your face. Cotton is a popular choice for its soft texture, but fabrics like linen or satin can provide different feels if you prefer something cooler or silkier.
Durability
Choose a fabric that is durable and can withstand frequent washing. Cotton and polyester blends tend to be sturdy and can handle regular wear and tear, making them ideal for pillowcases.
Design Compatibility
Consider the color scheme and overall aesthetic of your bedroom when choosing fabric. If you want to create a cohesive look, select fabrics that complement your bed linens, comforter, and throw pillows.
Ease of Care
Some fabrics require more care than others. Opt for fabrics that are easy to care for and can be machine washed, especially if you want a hassle-free experience. Cotton is low-maintenance, while delicate fabrics like silk may need special care.
Best Fabrics to Use
The best fabrics for pillowcases typically include cotton, linen, satin, or a cotton blend. Cotton is breathable and hypoallergenic, making it ideal for people with sensitive skin. Linen offers a relaxed, airy feel, while satin adds a touch of luxury. Consider the season and climate when choosing between these options.
How Much Fabric Do I Need?
The amount of fabric you need depends on the size of the pillowcase and the type of fabric. Generally, for a standard pillowcase, you’ll need about 1-1.5 yards of fabric, but it’s always good to measure the dimensions of your pillow first. Add extra fabric for seam allowances and any decorative elements.
Common Mistakes to Avoid When Making Pillowcases
Even the most experienced crafters can make mistakes when creating DIY pillowcases. Here are some common pitfalls to watch out for:
Ignoring Seam Allowances
Seam allowances are essential for ensuring your pillowcase fits the pillow correctly. If you skip this step or cut the fabric too close to the edge, your pillowcase may end up too tight or have exposed raw edges. Always add extra fabric for seam allowances to allow for clean, durable stitching.
Rushing the Process
While DIY projects can be exciting, it's important not to rush through the process. Hasty sewing or cutting can lead to uneven edges or poorly sewn seams. Take your time to measure accurately, sew carefully, and press the fabric properly to ensure a polished result.
Using the Wrong Needle
Using the wrong type of needle can lead to problems like fabric snags, skipped stitches, or even broken needles. Make sure you're using the correct needle for the fabric you're working with. For example, a ballpoint needle is best for knits, while a universal needle works well for cotton and polyester blends.
Neglecting to Wash Fabric
Always wash your fabric before starting your pillowcase project. This pre-wash removes any excess dye and softens the fabric. It also helps to prevent any shrinkage after the pillowcase is sewn. Neglecting this step can lead to unexpected size changes once the pillowcase is washed.
How to Care for Your DIY Pillowcases
Proper care extends the life of your handmade pillowcases and keeps them looking fresh. Follow these care tips to maintain their quality:
Washing Instructions
Always follow the washing instructions on your fabric, if provided. In general, machine wash pillowcases in cold or lukewarm water to prevent shrinkage or fading. Use a mild detergent to preserve the fabric's texture and color.
Drying Techniques
Air drying is the gentlest option for most fabrics, especially for delicate materials like linen or silk. If you choose to machine dry your pillowcases, use a low heat setting to avoid damaging the fabric or causing shrinkage. Remove the pillowcases promptly to prevent wrinkles.
Ironing Tips
To keep your pillowcases looking crisp and fresh, iron them on the correct heat setting for the fabric you're using. Cotton pillowcases can withstand high heat, but more delicate fabrics like satin or silk require lower heat settings. Always iron pillowcases while they are slightly damp or use a steam setting to smooth out any wrinkles.
FAQs
Can I use fabric glue instead of sewing?
While fabric glue can be used for minor fixes or embellishments, sewing provides a more durable and long-lasting finish for constructing pillowcases.
How do I choose a color scheme for my pillowcases?
Consider the existing colors in your room and select complementary or contrasting hues to create visual interest and harmony.
Are there any fabrics I should avoid?
Steer clear of fabrics that are too stiff or scratchy, as they may not be comfortable for use on pillowcases. Additionally, avoid fabrics that require dry cleaning for ease of maintenance.
What size should I make my pillowcase?
Standard pillow sizes include Standard (20" x 26"), Queen (20" x 30"), and King (20" x 36"). Measure your pillow insert and add seam allowances—usually ½ inch on each side—for a proper fit.
Can I wash handmade pillowcases in the machine?
Yes, most handmade pillowcases can be machine-washed, but it depends on the fabric. Pre-wash your fabric before sewing to prevent shrinkage, and follow the care instructions for the specific material you choose.
Conclusion
Making your own pillowcases is not only a creative way to enhance your bedroom, but it's also a practical skill that can save you money while offering a chance to experiment with fabrics, styles, and designs. By following the simple steps outlined in this guide and avoiding common mistakes, you'll be able to create high-quality, personalized pillowcases that suit your taste and needs.
Karen Barnard
Karen is a Human Movement Science expert and a certified sports nutrition and massage therapist. At Sleepiverse, she combines her passion for human movement science and sleep health to educate herself and her readers about healthier sleep. In addition to writing articles, Karen manages a fitness studio offering private training, athletic conditioning, and sports massage therapy. She focuses on providing people with a holistic environment for people to reach their health goals, often incorporating stretch therapy to promote mental tranquillity and help people improve their sleep.


