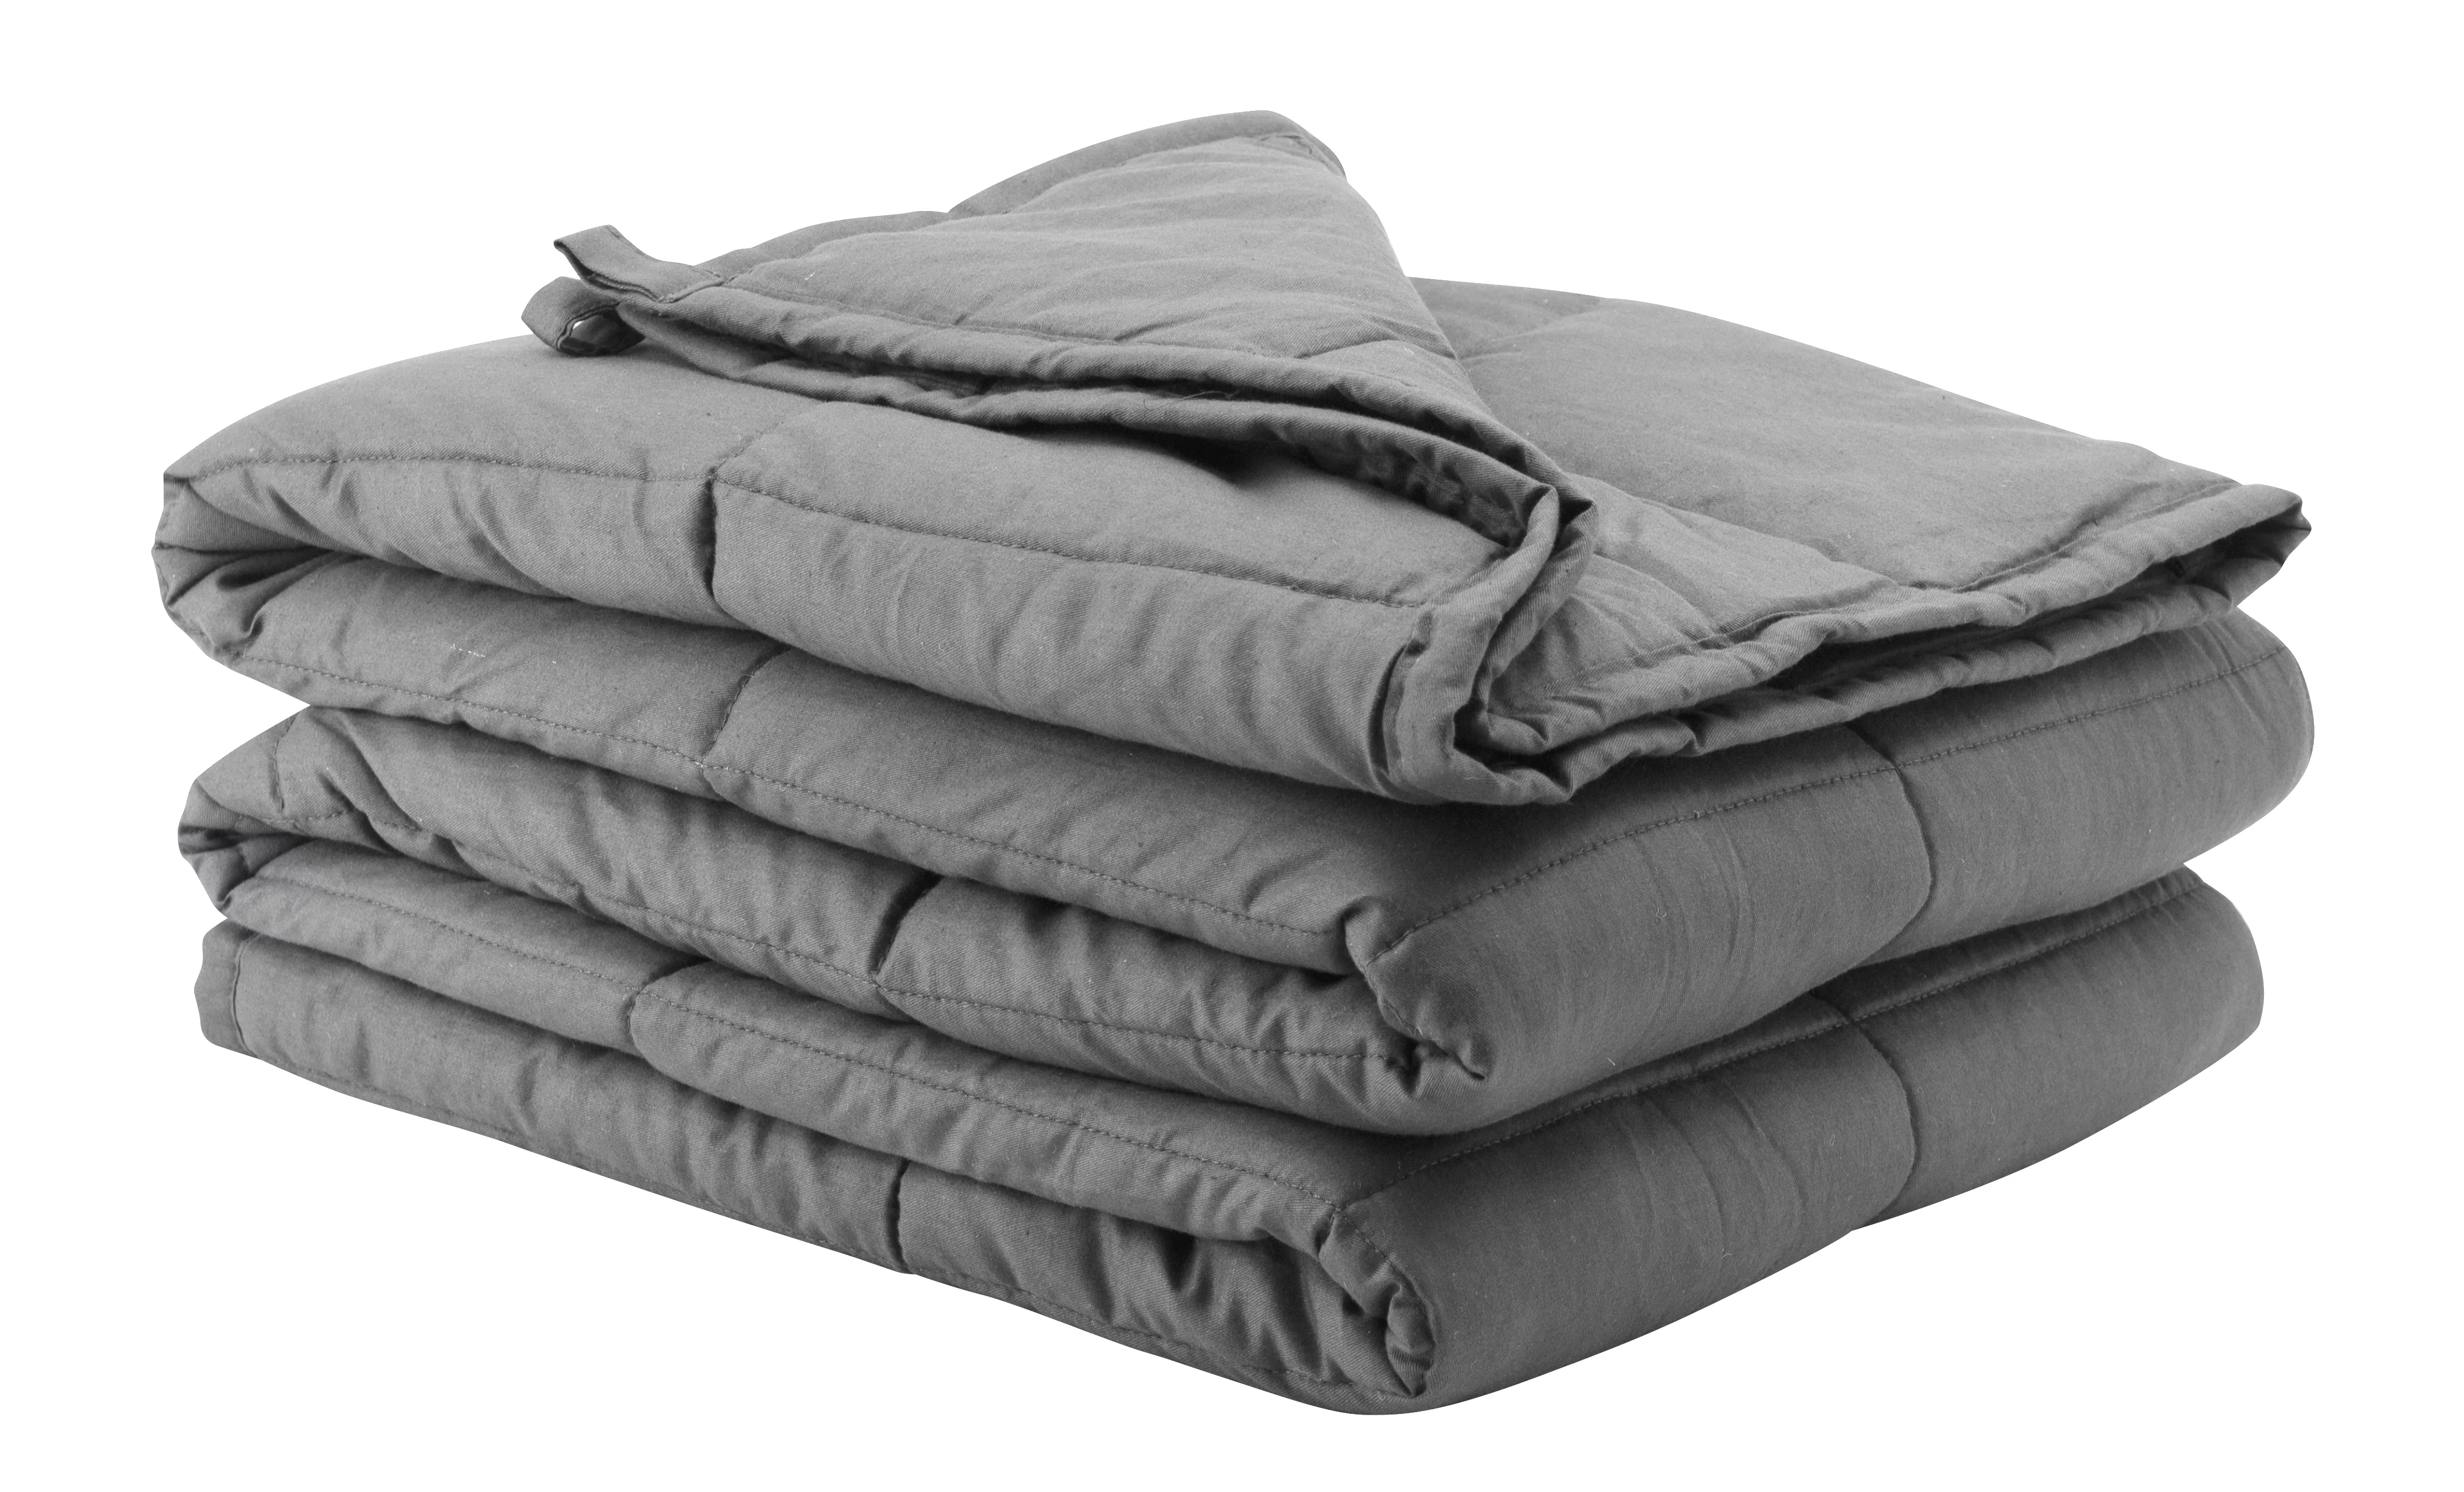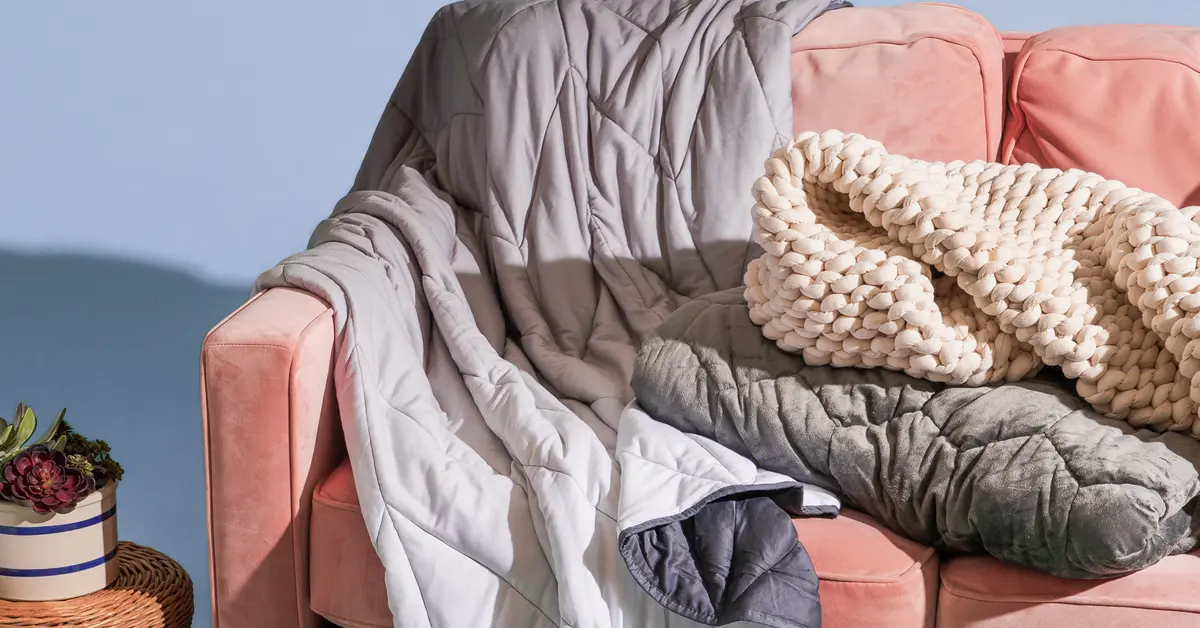


Yes, you can make a removable duvet cover with basic sewing skills. The project is mostly long, straight seams. The parts that determine whether it works well are accurate measuring, enough fabric at the opening, and a closure that suits how the cover will be used and washed.
Measure the duvet insert itself rather than relying on a size label. Two products sold as queen or king can have different dimensions, and a cover made from a generic yardage chart may end up loose, tight, or several inches short.
This guide is for a standard, non-heated duvet insert used on an adult or older child's bed. A duvet and duvet cover do not belong in an infant sleep space. The National Institute of Child Health and Human Development recommends a firm, flat infant sleep surface covered only by a fitted sheet, with no blankets, quilts, comforters, or other soft items 1.
Before you buy or cut fabric
Make four decisions first:
- The finished width and length. Measure the insert while it is lying flat and relaxed.
- The seam finish. A zigzagged or serged seam needs less allowance than a French seam.
- The opening and closure. A zipper, buttons, snaps, and an envelope opening each need a different amount of fabric.
- The panel layout. Most garment fabrics are not wide enough to cover an adult duvet without joins.
Writing these decisions on a small cutting plan prevents the common mistake of adding one inch to every dimension and assuming that covers the seams, hems, and closure.
Measure the insert, not the mattress
Lay the insert on a flat surface and gently smooth it without compressing the fill. Measure across the widest part and from top to bottom. Check both edges if the insert is older or uneven, then use the larger measurement.
For most inserts, make the cover's finished inside dimensions equal to the measured insert. A very thick or stiff insert may be easier to fit with up to 1 inch of total ease in the width and length. Too much extra room lets the insert shift; a cover that is too small can compress the fill and pull at the seams.
Record the finished size before adding any construction allowances.
Work out the cut size
For a cover with one front and one back panel:
- Cut width: finished width plus the seam allowance for both side edges.
- Cut length: finished length plus the seam allowance at the closed top and the fabric required for the opening treatment.
For example, a 90-inch-wide finished cover sewn with a 1/2-inch seam allowance on each side needs a total cut width of 91 inches. The cut length depends on whether the lower edge will hold a zipper, button placket, snaps, or an envelope overlap.
Do not add a second general "shrinkage allowance" after prewashing. Prewash and dry washable fabric using the routine you expect to use later, then measure and cut it. If the fabric's care instructions do not permit washing, follow those instructions instead of experimenting with a hotter or wetter treatment.
Plan panels around the usable fabric width
Check the usable width after excluding the selvages, which are the tightly woven factory edges. If one fabric width is not enough, plan the joins before calculating yardage.
A wide center panel with equal strips at both sides often looks more intentional than one off-center join. It also keeps a seam away from the middle of the bed. For a print, allow extra fabric to match the repeat and keep motifs facing the same direction. For plain fabric, keep every panel aligned with the same lengthwise grain so the cover hangs and launders evenly.
Old sheets can reduce the number of panel seams, but inspect them against a window first. Thin spots, tears, worn edges, stains, and stretched elastic can shorten the life of the finished cover.
Fabric and tools
A stable woven fabric is the easiest choice for a first duvet cover. Cotton percale, cotton sheeting, and many linen or cotton-linen fabrics are straightforward to cut and sew. Linen can fray more and may need careful seam finishing. Stretch knits and slippery satins are possible, but they are harder to keep square across long seams.
Choose based on the fabric's feel, weight, opacity, and care instructions rather than assuming that one fiber is universally "best." Both sides of the cover, the thread, and the closure should tolerate the same regular cleaning method.
A homemade cover should not be described as hypoallergenic simply because it uses a particular fiber. If you have reacted to a fabric, dye, or finish before, choose a material you already tolerate, wash it as directed before use, and stop using the cover if it causes irritation.
You will need:
- enough fabric for the front, back, panel joins, pattern matching, and closure
- all-purpose thread compatible with the fabric and its care routine
- a sewing-machine needle suited to the fabric's weight
- a flexible tape measure, long ruler or straightedge, and marking tool
- fabric scissors or a rotary cutter and mat
- pins or sewing clips
- an iron and pressing surface
- the zipper, buttons, snaps, or extra fabric required for the closure
- optional short fabric ties if the insert already has securely sewn corner loops
Choose the closure before cutting
Each closure works, but the tradeoffs are different.
Zipper
A zipper closes the opening securely and keeps the lower edge neat. It takes more precise sewing, and a broken tooth, pull, or end stop can make the cover uncomfortable or unusable. Choose a zipper long enough to make inserting the duvet practical, reinforce both ends, and place the pull where it will not rub against the sleeper. A fabric guard over the zipper can keep the pull away from skin.
Buttons and buttonholes
Buttons are replaceable and let you adjust their spacing, but the placket and buttonholes take time. Use enough overlap that the insert does not show between buttons. Sew each button firmly and inspect it after laundering. The American Academy of Pediatrics lists buttons among small household objects that can choke a young child, so a loose or missing button should be found and the cover removed from use until repaired 2.
Sew-on or installed snaps
Snaps are low profile and faster to operate than buttons. They still need a reinforced placket because repeated pulling can tear a snap through lightweight fabric. Check that both halves are secure after washing. Stop using the cover if a snap loosens or exposes a sharp edge.
Envelope opening
An envelope opening uses an internal fabric flap instead of hardware. It is simple to repair and avoids detachable closure parts, but it uses more fabric and can gape if the flap is too shallow. Extend one panel beyond the finished lower edge to form the flap; the other panel ends at the lower edge with a finished hem. An 8- to 12-inch flap works as a starting point for many adult covers. Test it with the actual insert before finishing the side seams, especially if the insert is thick.
How to sew a duvet cover
1. Prewash, dry, and press the fabric
Use the care method you plan to use for the finished cover. Press the fabric after it is dry so wrinkles do not distort the measurements. If you are combining two fabrics, prepare both the same way.
2. Draw a cutting plan
Mark the finished dimensions, seam allowances, panel joins, print direction, and closure allowance. Label the top and bottom of every cut piece. If the fabric has a one-way print, draw arrows on the wrong side so no panel is accidentally reversed.
A 1/2-inch seam allowance is practical for seams finished with a zigzag stitch or serger. If you prefer French seams, allow enough fabric for both passes of the seam. Test the seam on a scrap first because bulky fabrics may not fold cleanly into a French seam.
3. Join any narrow panels
Sew the front and back panel layouts separately. Keep the grain and print direction aligned. Press each join, then finish the raw allowances with a zigzag stitch, serger, or the enclosed finish you planned.
Re-measure the completed front and back. Long seams can creep while sewing, so square the pieces before joining them together.
4. Make optional internal corner ties
Add corner ties only if the duvet insert has securely sewn loops intended for them. Make short, flat ties from fabric tape or folded fabric, stitch them firmly into the seam allowance, and keep them entirely inside the closed cover. Do not tie cords around the insert itself or add long, dangling loops.
For a child's bed, a closure without accessible cords is the simpler choice. Health Canada advises repairing loose threads in children's sleepwear because they can wrap around a finger, limb, or neck. Apply the same inspection habit to bedding used by a child 3.
5. Construct the opening
Finish the lower opening while the large pieces are still easy to handle:
- For a zipper, stabilize the opening if the fabric is light, baste the seam, install the zipper, then remove the basting.
- For buttons, make and press the overlapping plackets before marking evenly spaced buttonholes and button positions.
- For snaps, reinforce both sides of the placket and space the snaps closely enough that the insert stays covered.
- For an envelope, hem the lower edge of the shorter panel and all exposed edges of the extended flap. After the outer seams are complete, the flap folds up inside the cover across the opening.
Check that the opening is wide enough for the folded insert before sewing the remaining seams.
6. Sew the outer seams
Place the front and back with right sides together. Match the top edge, corners, panel joins, and side edges. Pin or clip, then sew the top and both sides with the planned allowance. Backstitch at the beginning and end, especially beside the opening.
Finish every exposed seam allowance. A straight stitch alone can hold the pieces together, but an unfinished woven edge may fray during repeated washing.
7. Trim, turn, and inspect
Trim bulky allowances without cutting into the stitching. Clip the two closed corners diagonally, leaving a small margin from the seam. Turn the cover right side out and use a blunt point turner to shape the corners. Avoid scissors or another sharp object that can puncture the fabric.
Press the edges, operate the closure several times, and check the entire inside for skipped stitches, loose threads, pins, sharp hardware, or gaps. Repair any problem before putting the cover on the bed.
Put the duvet inside the cover
The inside-out method works with any closure:
- Turn the empty cover inside out and lay it flat on the bed.
- Lay the insert on top with all four corners aligned.
- Secure the insert's loops to the cover's short internal ties, if both are present.
- Reach into the cover and grasp the two upper corners together with the insert corners.
- Lift and pull the cover down over the insert, then work each lower corner into place.
- Close the opening and smooth the insert toward all four edges.
If the fill bunches, open the cover and correct it by hand instead of repeatedly yanking the outer fabric. Strong pulling puts unnecessary strain on the closure and corner ties.
Laundering and repairs
Follow the most restrictive care instructions among the front fabric, back fabric, trim, and closure. Do not automatically use hot water, bleach, or high dryer heat. A homemade cover may combine components that react differently to those treatments.
Close zippers, buttons, and snaps before laundering unless the closure manufacturer says otherwise. Empty the cover completely, turn it inside out, and check the corners for trapped lint or loose threads. Dry it fully before storing or returning it to the bed.
Mend an opening seam as soon as stitches begin to pull. Replace a loose button or snap rather than sewing around it, and retire the cover until a damaged zipper with sharp or missing parts is replaced. On children's bedding, remove loose hardware and cut or secure loose threads immediately.
A homemade duvet cover is not proof of compliance with a product safety or flammability standard. Keep all bedding away from open flames and heat sources. The U.S. Fire Administration advises against lit candles in sleeping areas, and the Consumer Product Safety Commission recommends keeping space heaters at least 3 feet from bedding, furniture, and curtains 4 5.
Common questions
Can I sew a duvet cover by hand?
Yes, but the long seams make it time-consuming. Use small, consistent backstitches for structural seams and finish woven raw edges so they do not unravel. Test the finished seams with firm hand pressure before washing the cover.
Should the cover be larger than the duvet?
Not by default. Start with finished inside dimensions close to the actual insert. Add seam and closure allowances to the cut pieces, not to the finished dimensions. A small amount of ease can help with a very lofty insert, but several extra inches can encourage shifting.
Do corner ties prevent all bunching?
No. They can hold looped corners in place, but the insert can still move in the middle. Correct sizing, secure seams, and redistributing the fill after laundering matter too. Never attach ties to an insert that has no compatible loops.
Can I use two different fabrics?
Yes, if their weights and care requirements work together. Prewash both, compare how much they shrink, and test a sample seam. If one side stretches or shrinks much more than the other, the cover may twist after laundering.
Is a homemade duvet cover suitable for a baby?
No. A duvet, comforter, quilt, or loose cover should not be placed in an infant sleep space. Use a safety-approved infant sleep surface with only a fitted sheet, following current safe-sleep guidance 1.