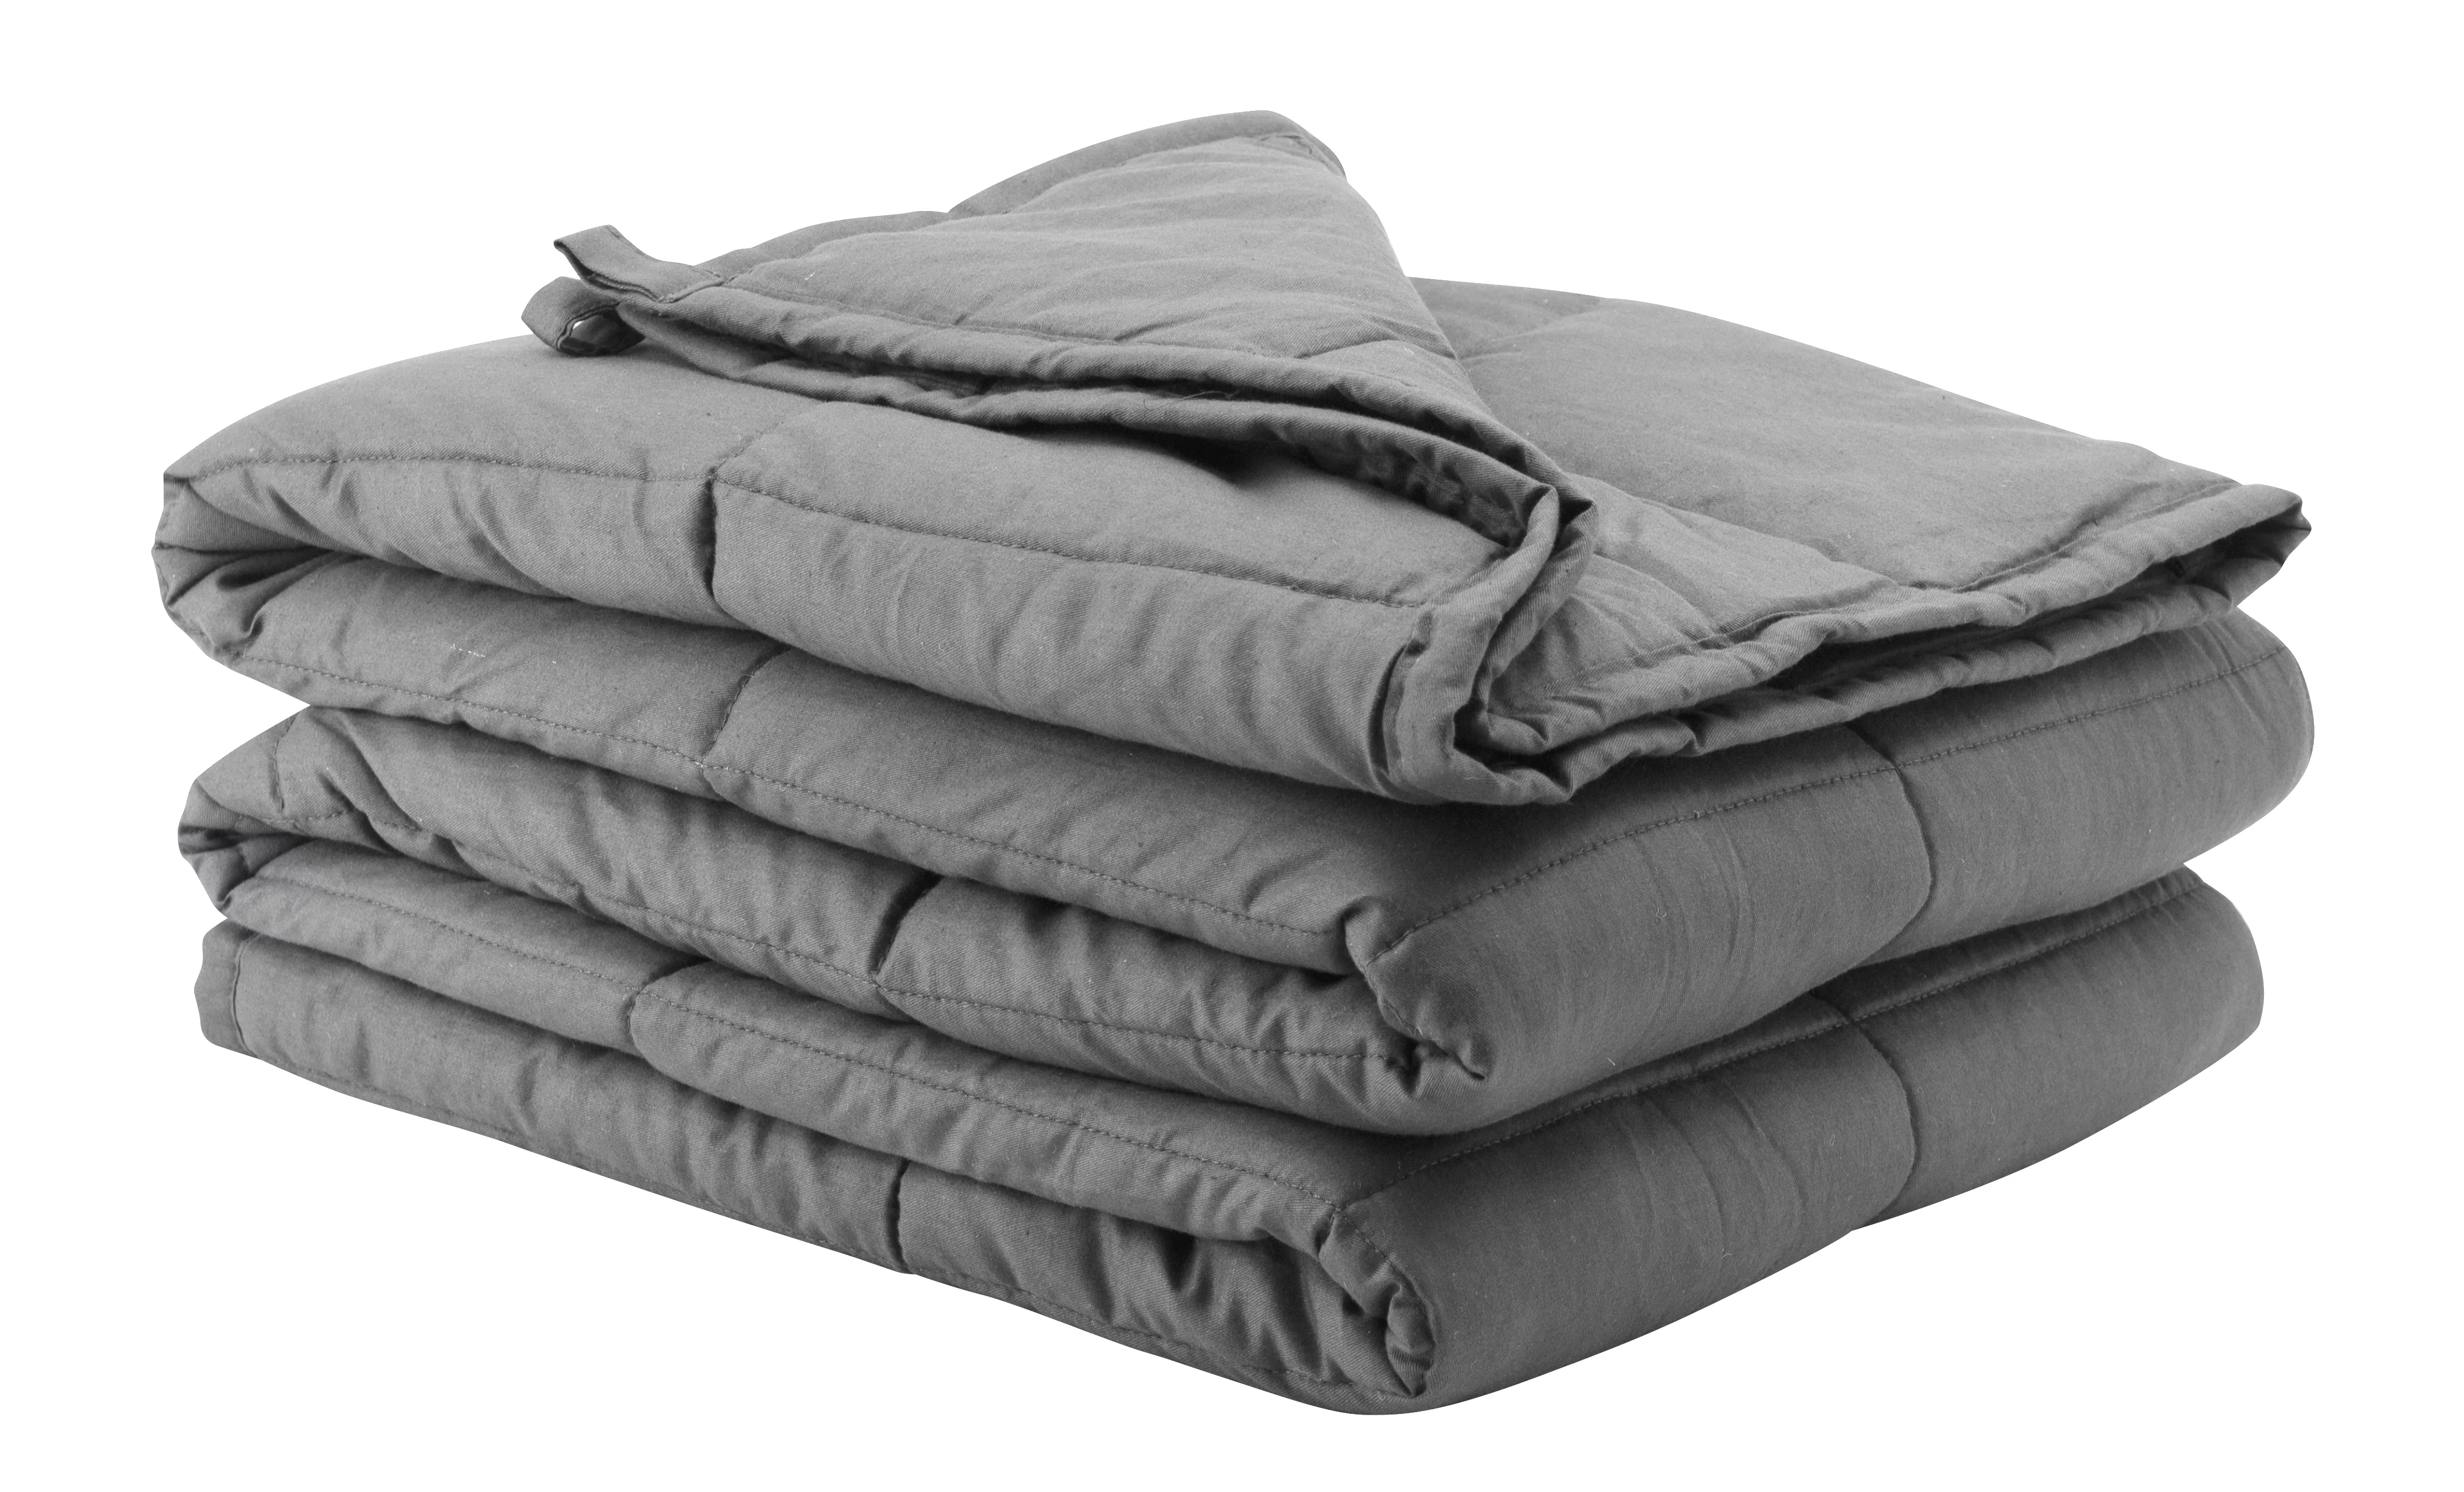


A duvet cover is a removable fabric case that goes around a separate filled insert. The cover has an opening for the insert and a zipper, buttons, snaps, or another closure to shut that opening. Some covers also have ties or snaps inside that connect to loops or tabs on the insert.
These parts have different jobs. The closure keeps the insert from coming through the opening. The internal attachments reduce movement at specific points. Compatible dimensions let the insert spread through the cover without large empty areas or excessive tension. None of those features can correct a major size mismatch on its own.
This guide explains that system and how to use it. If you are deciding which type of top bedding to buy, start with our duvet versus comforter guide or duvet selection guide.
The four parts of a duvet-cover system
The cover
The cover is the unfilled outer case. Most are made from two broad textile panels joined around the edges, with an opening along one edge. That removable outer surface can take much of the direct contact from skin, spills, and pets, but it is not waterproof unless the product specifically says it is.
A seller may call this piece a duvet cover, quilt cover, or comforter cover. The name does not tell you its exact measurements or construction.
The insert
The insert is the filled layer that supplies most of the loft and warmth. It has its own fabric shell, filling, and stitched compartments or channels. Sellers may call it a duvet, duvet insert, comforter, or quilt. Some decorative comforters can fit inside covers, but that does not mean every comforter is designed with compatible loops or dimensions.
The closure
The opening may close with:
- a zipper
- buttons
- snaps or press studs
- fabric ties
- an envelope or overlapping fabric panel
A closure keeps the opening shut. It does not normally anchor the far corners, so a fully closed cover can still contain an insert that has rotated or bunched.
The internal attachment points
Interior ties, snaps, or tabs connect the cover to matching loops on the insert. Compatibility matters because a tie needs something suitable to tie through, and a snap needs its matching half.
The number and location are not standardized. Brooklinen says its covers have four internal ties placed slightly away from the corners, designed to connect to four loops on its comforters 1. By contrast, one current Cozy Earth cover uses a bottom zipper plus interior snaps at the corners and midpoints 2. Some IKEA covers use button closures and access openings near the top corners rather than internal corner ties 3.
Look inside the cover and around the entire insert before assuming that attachments are missing. They may sit a few inches from the corners, along the sides, or beneath a small fabric flap.
Check fit and orientation before you start
A matching size name is only a first check. Compare the finished width and length for the exact cover and insert. Brands may combine names differently or list an insert somewhat larger than its matching cover.
For example, Brooklinen currently lists a Full/Queen duvet cover at 90 by 90 inches and its Full/Queen comforter at 92 by 96 inches 4. IKEA's UK range includes covers identified by metric dimensions such as 150 by 200, 200 by 200, and 240 by 220 centimeters 5. These examples are not universal targets. They show why "queen," "double," or "king" is not enough information by itself.
Before inserting:
- Read the labels and product specifications for both pieces.
- Confirm each piece's width and length. Mark the top edge temporarily with a removable note if the shape is close to square.
- Find the cover opening and every internal tie, snap, or tab.
- Find the insert's matching loops or tabs.
- Decide whether the opening should sit at the foot, side, or another position specified by the maker.
A slightly fuller or looser fit may be intentional. If the two products are not sold as a pair, do not assume a fixed rule such as making the insert two inches larger. Compare actual dimensions and make sure the insert can lie evenly without stretching the cover or leaving large areas of empty fabric.
Method 1: the burrito or California-roll method
This method keeps most of the work on the bed. It is useful when you can reach across the surface and the cover opening is wide enough to turn over the rolled bundle. Casper describes the same basic sequence as the California-roll or burrito method 6.
- Turn the cover inside out. Lay it flat on the bed with the opening at the foot. The closed edge should be at the head.
- Lay the insert on top. Match the top, bottom, and side edges. Correct any 90-degree rotation now.
- Connect the attachments. Tie, snap, or fasten each matching point without pulling the fabric tight.
- Roll from the closed edge. Starting at the head, roll the cover and insert together toward the opening. Keep the roll even from side to side.
- Turn the opening over the roll. At one end, pull the cover opening around the rolled layers as if turning a cuff over them. Repeat at the other end, then work across the middle until the roll is enclosed.
- Close the cover. Fasten the zipper, buttons, snaps, or ties. Keep loose fabric and fingers clear of a zipper.
- Unroll toward the head. Smooth the layers as they open. Check all four corners and gently redistribute the insert if needed.
If the opening is on a side rather than the foot, rotate the setup so you roll from the opposite closed edge toward that opening. Do not force a thick roll through a short or narrow opening. Use the corner-first method instead.
Method 2: the conventional corner-first method
This method starts with the insert flat and uses the cover's far corners as handles.
- Lay the insert flat. Identify its top edge and put the intended foot edge toward the foot of the bed.
- Turn the cover inside out. Lay it on top of the insert with matching edges and the opening at the foot.
- Connect matching attachments. Secure the corners and any side or midpoint attachments the two products share.
- Reach through the opening. Put your hands inside the cover and reach to its two closed top corners. At each corner, grasp both the cover corner and the attached insert corner.
- Turn the cover over the insert. Keep hold of those paired corners while drawing the cover right side out and down around the insert. You can lift and let the cover fall, or keep everything on the bed and work down each side in sections.
- Settle the lower corners. Pull the remaining cover around the foot corners, check the attachments, and close the opening.
- Smooth rather than yank. Lay the duvet flat and move any gathered fill outward with broad, gentle motions.
The corner-first and burrito methods are both valid. Choose the one that suits the cover opening, insert weight, bed position, and your range of motion.
Lower-effort and two-person options
You do not have to lift a large insert overhead or shake it forcefully.
- Work on a cleared bed or table at a comfortable height, moving from one side to the other rather than leaning across the full width.
- With two people, each person can control one side of the roll or one top corner. Pull the cover down together while the insert stays supported by the bed.
- If standing balance is limited, work seated in sections at the edge of a stable surface and ask another person to handle the far side.
- A lighter rolling method may reduce lifting, but it still requires reaching and turning fabric at the opening.
Clear the floor around the bed and do not stand on the mattress to gain reach. Avoid vigorous shaking near a ceiling fan, light fixture, pet, or another person. If the insert is heavy or the motion causes shoulder, back, hand, or balance symptoms, stop and use help rather than forcing it.
Protect fingers when closing snaps or a zipper. If fabric enters the zipper teeth, stop and ease it out by hand. Pulling harder can damage the slider, seam, or fabric.
Troubleshooting fit and movement
The insert is turned sideways
A nearly square duvet can be easy to rotate. If two corners fit but the other edges bow, wrinkle, or fall short, open the cover and compare width with width and length with length. Do not use the location of a logo or care tag as an orientation guide unless the manufacturer identifies it that way.
The insert bunches in one area
Open the cover, lay the system flat, and check every attachment. A loose corner can migrate while the other corners remain fixed. Also confirm that the insert has not folded under itself or moved inside its own fill compartments.
If the dimensions and attachments match but movement continues, smooth from the center outward before closing. For more focused solutions, see our guide to preventing duvet bunching.
Empty fabric hangs beyond the insert
The cover may be larger, the insert may be rotated, or the manufacturer may intend a looser fit. Compare the actual measurements. If the excess is substantial and not part of the intended pairing, a closer-sized cover or insert is the cleanest fix.
Do not gather a large section of empty cover with an internal tie. That can distort the seam and create a hard lump.
The insert strains the cover or closure
An insert that is too large may fold, dome, pull the corners inward, or put tension on the opening. Detach it and verify the measurements instead of forcing the zipper or buttons closed. A deliberately fuller pairing should still close without excessive tension and allow the insert to spread across the case.
The ties and loops do not match
A cover can still enclose an insert without internal attachments, but it may move more. Do not tie cords around a filled corner, pierce the insert with safety pins, or sew through its shell unless the insert manufacturer permits that alteration. Those shortcuts can compress the fill, damage the shell, or leave hard or loose hardware in the bed.
Use a fastener specifically approved for that product, have compatible loops added only when the maker allows it, or choose a cover and insert with matching attachment systems.
Two inserts are moving inside one cover
Two separate inserts in one ordinary cover can overlap, separate, or compete for the same attachment points. If you use a split-duvet setup, individual covers are usually the simpler mechanical match. Use one shared cover only if it is designed for that insert arrangement and explains how each piece attaches.
The closure opens or fails
For a zipper, first check for trapped fabric, a bent slider, separated teeth, or tension from an oversized insert. Do not use pliers or force the slider while the cover is on the bed.
For buttons or snaps, check alignment and repair loose hardware before it detaches. Do not substitute exposed safety pins. A closure repair may be enough if the fabric and insert fit are otherwise sound; there is no need to replace a cover on a calendar schedule.
Is a top sheet required?
A top sheet is optional in a duvet-cover setup. Without one, the cover is the textile layer directly against the sleeper. With one, the sheet sits between the sleeper and cover and can be removed separately.
Neither arrangement is universally cleaner, healthier, or more comfortable. The practical differences are feel, bed-making preference, and which layer receives more direct contact. If you skip the top sheet, expect the cover's own care instructions and your household use to guide when it needs laundering. Do not assume that the insert never needs care just because it has a cover.
Can you use a duvet cover without an insert?
You can use an empty duvet cover as a thin fabric layer if its seams, closure, and loose internal ties are comfortable and secure. Fasten the opening and keep the internal attachments tucked inside.
An empty cover does not provide the loft or predictable warmth of a filled insert. Some covers also collapse, twist, or show internal seams when used alone. Whether that setup works is a personal and product-specific choice, not the required way to use a duvet cover.
Wash and store the cover according to its construction
Check the cover and insert separately. They may use different fibers, trims, dyes, closures, and care methods. U.S. labeling rules require most household textile products, including bedding, to identify fiber content, country of origin, and the responsible manufacturer or business 7. Care directions may appear on a sewn label, packaging, or the official product page. Do not infer a wash temperature from a marketing name such as cotton, linen, or bamboo.
Manufacturer instructions can differ even among washable covers. Parachute's current general duvet-cover details call for mild liquid detergent and low tumble drying 8. One current IKEA cotton cover permits a warm normal wash and medium tumble drying, while also listing expected shrinkage and ironing instructions 3. Those are examples for specific products, not directions to combine into a universal routine.
Use this sequence:
- Remove the insert and check the cover for loose buttons, damaged snaps, open seams, or a zipper that catches.
- For a spill or stain, follow the maker's treatment directions. Test an unfamiliar product in an inconspicuous area and avoid scrubbing delicate or loosely woven fabric.
- Wash the cover only by its own instructions, including load separation, cycle, detergent, bleach, and temperature limits.
- Dry it by the allowed method and heat setting. Check thick hems, ties, button plackets, and zipper tape before deciding it is fully dry.
- Reinsert the duvet only after the cover is dry. Store a spare cover clean and fully dry in a location suitable for its material and your climate.
There is no single correct wash interval, drying method, storage container, or replacement age for every cover. Direct contact, a top sheet, spills, pets, illness, the fabric, construction, and available laundry equipment all affect the routine. Complete drying matters before storage because excess humidity encourages mold and mildew in textiles 9.
The bottom line
A duvet cover works by enclosing a separate insert, shutting the opening, and, when compatible parts are present, attaching the two pieces at corners or other points. Good results depend more on actual dimensions, orientation, and matching attachments than on a shared size name.
Use the burrito method when the opening can turn around a rolled bundle, or use the corner-first method when drawing the cover down feels simpler. Keep the work supported on the bed, use a second person when helpful, and fix size or hardware problems instead of forcing the pieces together.