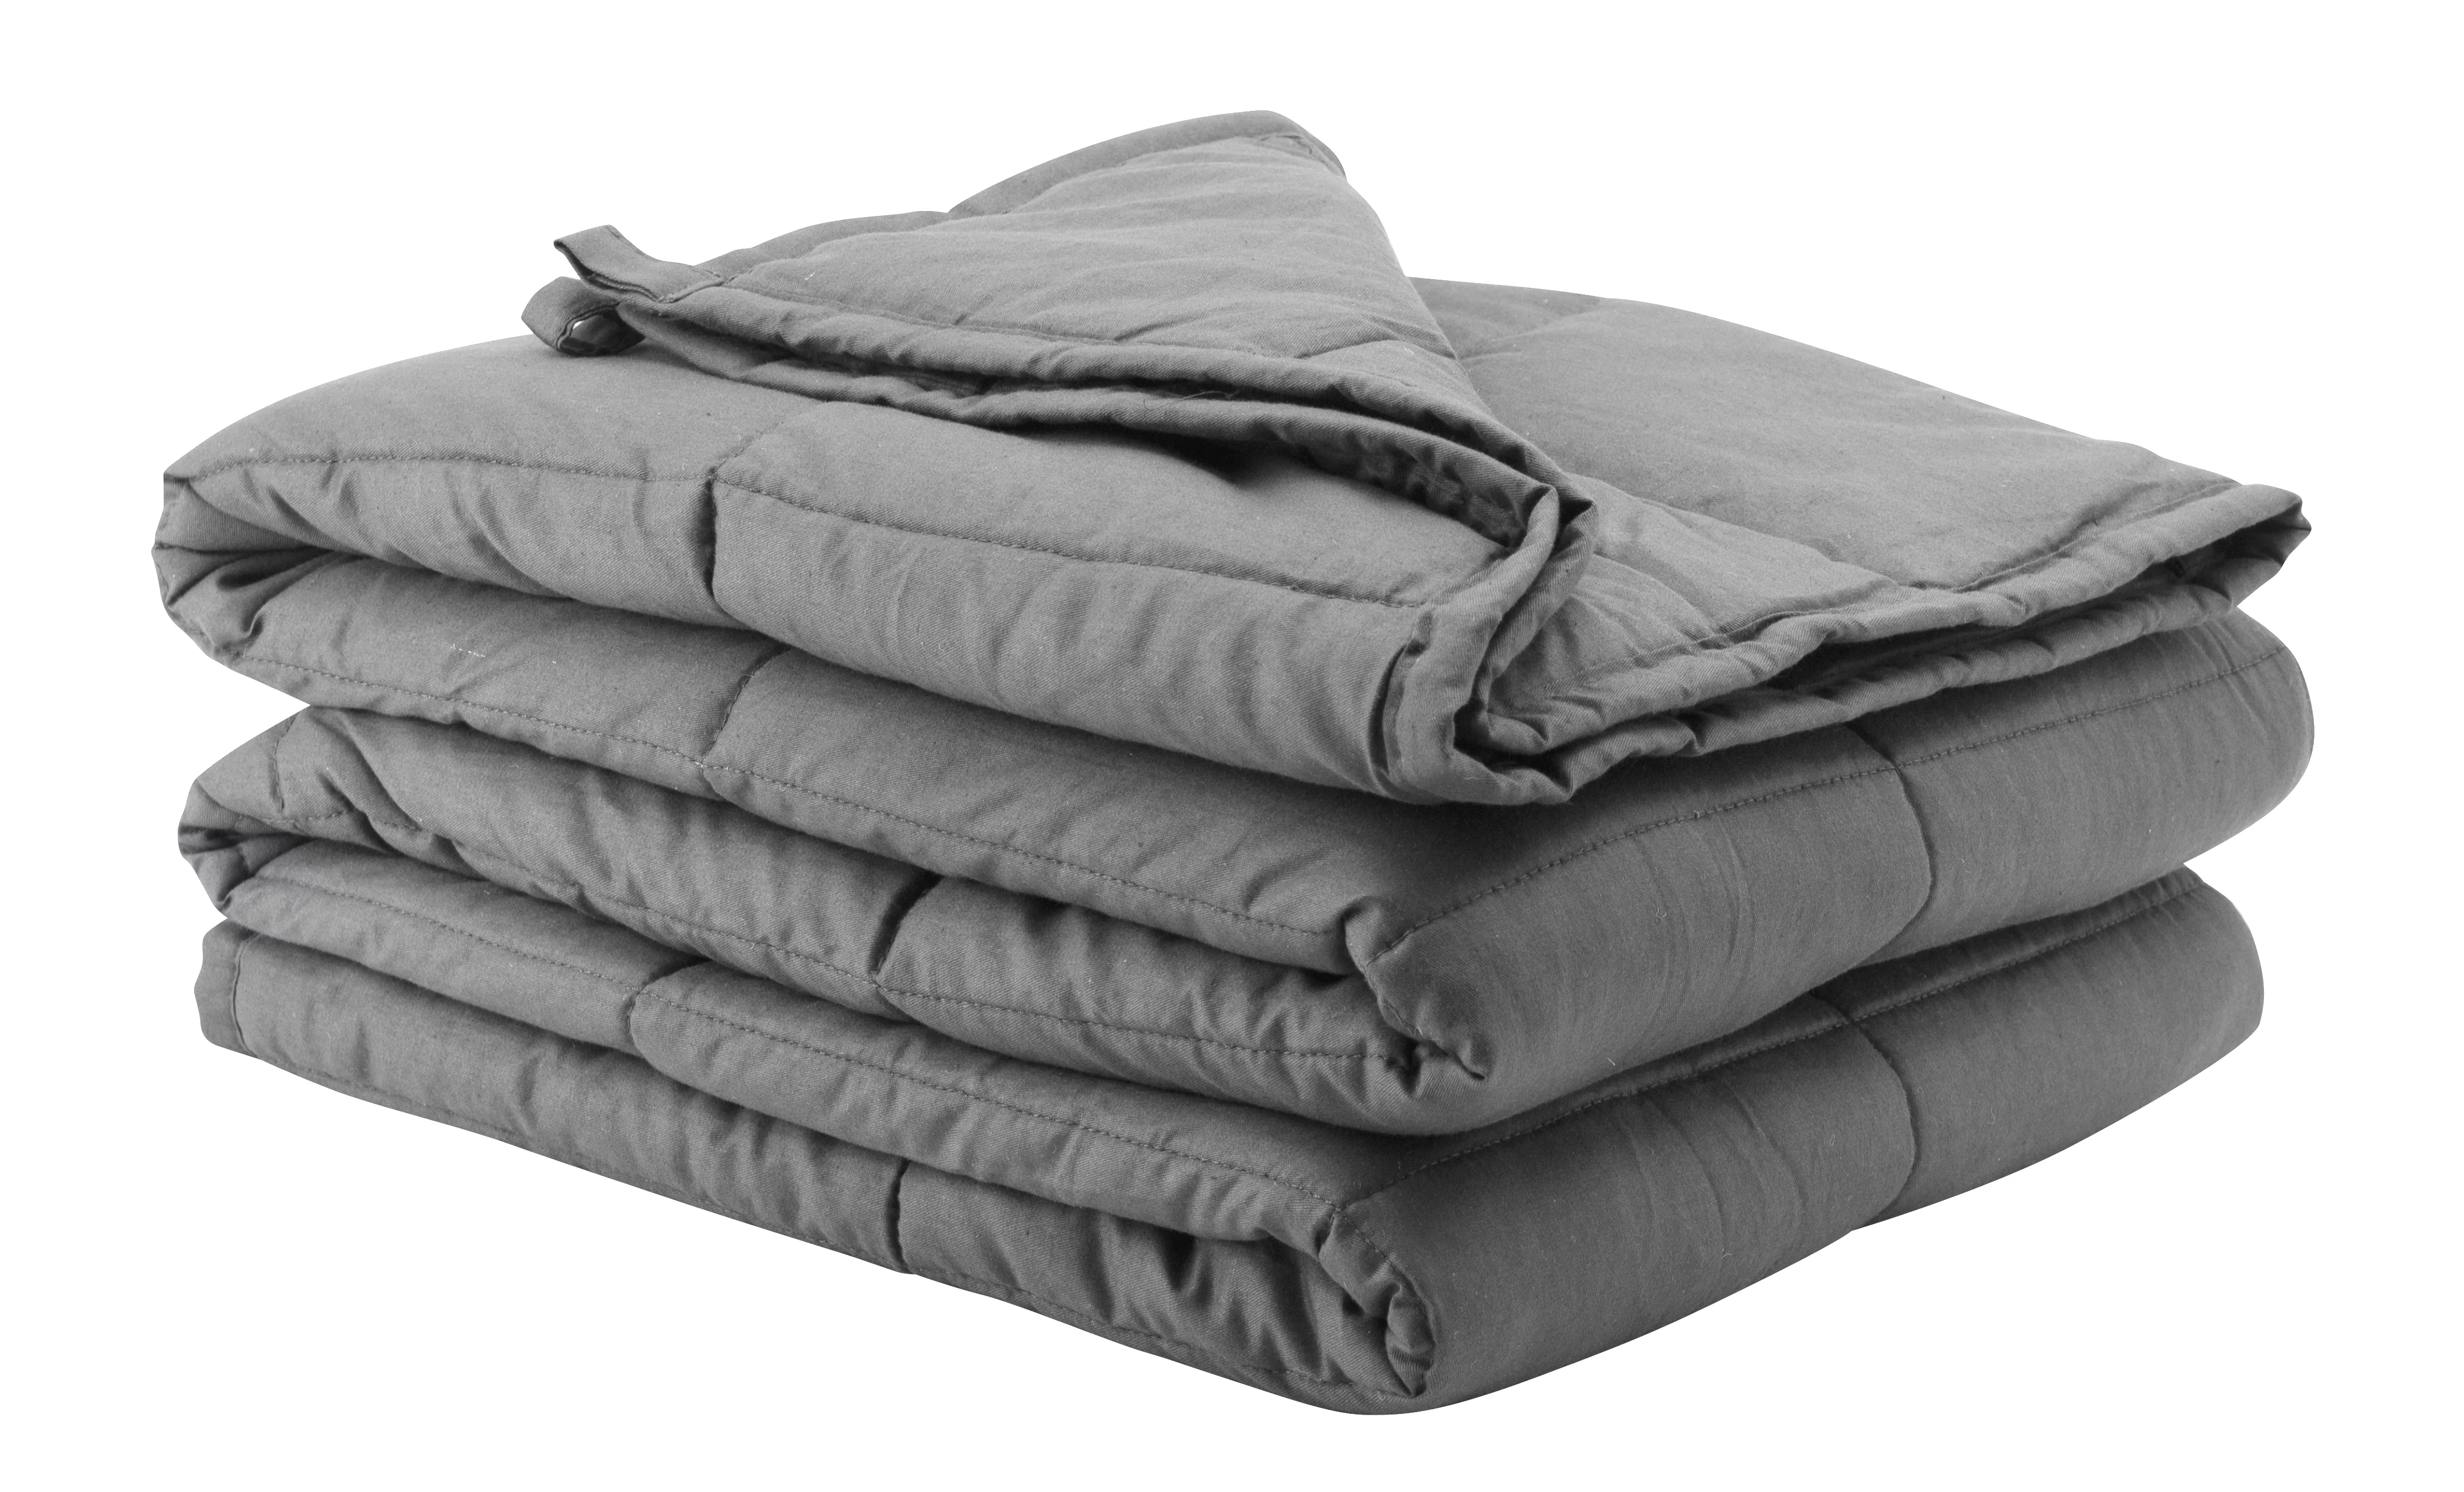


A duvet bunches inside its cover for one of two reasons, and the two need different fixes. Either the whole insert is sliding around because nothing holds it in position, or the fill has migrated inside the insert so the insert itself is lumpy no matter where it sits. Work out which one you have before you buy anything, because ties and clips only solve the first.
For the sliding kind, three things do almost all the work: connect the cover's ties to the insert's loops while the cover is still inside out, close the gap between the two pieces' actual measurements, and put the insert in square instead of straightening it afterward.
This page is about shifting and bunching specifically. For how the cover, insert, closure, and internal attachments work in general, and for the full step-by-step insertion methods, see our guide to how duvet covers work.
Find out which problem you have

Strip the bed, take the insert out, and lay both pieces flat and separately. Two minutes here saves you from buying a fix for the wrong problem.
| What you see | What it usually means | Where to look below |
|---|---|---|
| The insert is smooth and even out of the cover but travels to one end inside it | It is not anchored, or there is slack between the pieces | Nothing is holding it |
| Two corners sit correctly and the other edges bow, wrinkle, or fall short | The insert went in a quarter turn off | Start the insert square |
| Ties are missing, frayed, knotted shut, or the insert has no loops | Attachment failure, or a pair that was never compatible | Add anchors the insert can use |
| The insert has hard lumps, thin patches, or is heavy at one end even outside the cover | Fill has moved inside the insert | When the lumps are inside the insert |
| Empty cover fabric hangs well past the insert on every side | A genuine size mismatch | Fix the mismatch itself |
If the insert is lumpy on its own, skip ahead to the fill section. No anchoring system corrects an insert whose filling has already collected in a few compartments.
Why the insert slides inside the cover
Nothing is holding it
The closure shuts the opening. It does not anchor the corners. A fully zipped cover can still contain an insert that has crept to the foot of the bed overnight, which is why "my cover zips shut" and "my duvet stays put" are separate questions.
Many bedding brands do supply anchors, but the design is not standardized. Brooklinen says its covers have four internal ties, one per corner, set a few inches in from the corner so the comforter's own corner can still reach the corner of the cover, and its comforters carry matching loops 1. Boll & Branch pairs a hidden zipper with four interior corner ties and instructs you to attach them to the loops on the insert 2. Parachute's duvet covers use twill ties in all four corners 3. Beddy's uses eight interior ties, adding midpoints to the four corners 4.
Other covers deliberately have none. IKEA's DVALA cover closes with concealed press studs and relies on that closure to keep the duvet in place 5. Its DOFTAKLEJA cover uses buttons along the bottom plus corner holes at the top that make the duvet easier to feed in, with concealed pockets so the duvet does not poke out 6.
So the first question is not how to stop the bunching. It is whether this cover has anchors at all, and whether you are using the ones it has.
Slack between the two pieces
A common piece of advice says to buy a cover slightly larger than the insert. The brands that publish both sets of measurements do not design them that way.
- Brooklinen lists its Full and Queen duvet cover at 90 by 90 inches, and its Full/Queen comforter at 92 by 96 inches 7.
- Boll & Branch lists its Full and Queen cover at 88 inches wide by 92 long, and its matching insert at 92 by 96. Its King cover is 106 by 92 with a 110 by 96 insert 8.
- Beddy's says its inserts are deliberately oversized for its covers so the finished bed looks lofty 4.
- IKEA takes a different approach and gives the duvet and the cover the same nominal dimensions for a given bed width, such as 150 by 200 cm for an 80 or 90 cm bed and 240 by 220 cm for beds from 135 to 160 cm 9.
Do not copy those numbers as targets, because they only apply to those products. Size names will not tell you either: Parachute lists its Full/Queen down insert at 90 by 94 inches, a different footprint from the 92 by 96 inserts above under the same name 10.
What the pairings show is the direction. An insert that genuinely fills its cover has nowhere to travel. A cover several inches larger in both directions gives the insert room to move, and no corner tie can absorb that much slack without dragging the seam into a visible ridge.
It went in a quarter turn off
Some covers are close to square, and a few are exactly square. Brooklinen's Full and Queen cover at 90 by 90 inches is one of them, while the comforter meant to go inside it is 92 by 96 7. Put that insert in rotated and it cannot fit no matter how carefully you smooth it. Two corners will look right, the other two will pull short, and the excess gathers along one edge.
This is worth checking first when the bunching is always in the same place and always appears on the day you change the bedding.
The ties or closure gave out
Corner ties are small pieces of tape sewn to a seam, and they take a beating in a washing machine. FIX Linens, which sells a snap-based alternative to ties, says traditional ties tangle, knot, or break after repeated laundering 11. That is a vendor's argument for its own product, but the failure mode is easy to verify on your own cover: turn it inside out and check that all four ties are present, unbroken, and not knotted into a hard lump you can no longer undo.
Laundering also moves the measurements. IKEA lists maximum shrinkage of 4 percent for its DOFTAKLEJA cotton cover, which it sells at 102 inches wide 6. Four percent of that width is roughly four inches, enough to turn a deliberately full pairing into one that strains at the closure. Measure both pieces after they have each been washed once rather than trusting the packaging.
The cover fabric has little grip
Satin weaves are built from long floats, yarns that pass over as many as eleven others before dipping under the surface, staggered so the face reads as smooth and seamless 12. That structure is why silk and cotton sateen feel slick, and a slick inner surface gives an unanchored insert less to catch on than a coarser weave such as linen or percale.
Treat this as a contributing factor rather than the cause. No manufacturer publishes grip figures for bedding fabrics, and an insert that is tied at the corners and correctly sized stays put in a sateen cover too. If you like the fabric, fix the anchoring instead of replacing the cover.
Movement and shared beds
An active sleeper, a pet, or a partner who pulls the covers all apply force to one part of the duvet. That force has to go somewhere, and in an unanchored system it goes into moving the insert. Anchoring does not stop the pulling, but it spreads the load across four or eight fixed points instead of letting the whole insert travel.
Fixes, in the order that actually works

1. Use the anchors you have, before you turn the cover
Manufacturer instructions connect the ties while the cover is inside out and the corners are visible. Boll & Branch tells you to reach in and attach the top corner ties of the cover to the matching top corner loops of the insert, then do the bottom pair, and only then close the zipper 2. Parachute's traditional method lays the insert flat with its corner tabs facing up, puts the cover on top inside out with the corners lined up, secures the ties to the tabs, then turns the whole thing right side out 13.
That order matters more than which method you use. Parachute does also describe a stuffing method that puts the insert in first and secures the ties afterward 13, but tying by feel inside a closed cover is how corners end up on the wrong loop, or missed altogether.
A few details that make the ties work:
- Tie snug, not tight. A tie pulled hard gathers the insert's corner into a firm knot you can feel through the fabric. Both pieces should still lie flat after the knot.
- Use every attachment point the pair shares. Some covers carry eight interior ties rather than four 4, and tying only the corners leaves the middle of each side free to move.
- Check the ties every time you strip the bed, while the cover is already inside out and easy to inspect.
2. Add anchors the insert can use
When the cover has ties and the insert has no loops, or the cover has nothing at all, add hardware rather than modifying the insert.
- Snap tabs. You thread the loose end through the insert's corner loop and snap it shut. FIX Linens lists a four inch adjustment range for its snap tab system, which helps when the loop and the anchor point do not sit in quite the same place 11.
- Padded clips. These grip the two layers of fabric together. QuickZip supplies its add-on clips in a set of five, ties them into the cover's corners, and says they can stay in place through washing 14.
- A no-sew loop. FIX Linens shows making a corner loop from an elastic hair tie or rubber band when the insert has none 11. Keep it loose enough that it holds the corner without cinching the fill into a hard ball.
Three things to avoid:
- Open safety pins in a bed. A pin can work loose in the night, and it punctures the shell of a down or fiber-filled insert, which is how fill starts to escape.
- Sewing into the insert's shell. Aside from the puncture risk, an alteration can end your ability to send the product back. Canadian Down & Feather, which does offer paid alterations to its own products, states that custom or altered products are no longer eligible for return or exchange 15. Ask the maker before you sew, since some will do the work for you.
- Gathering a large area of empty cover into one tie. It hides the slack in one spot instead of removing it, and it puts all the tension on a single seam.
3. Start the insert square
Both standard methods exist mainly to get the corners aligned before the fabric closes over them.
In the burrito or California roll method, the cover goes on the bed inside out with the opening at the foot, the insert lies on top with its edges matched and its tabs facing the cover's ties, the attachments are connected, and then the two are rolled together from the closed end and turned out at the opening 132. In the corner-first method you attach the corners the same way, reach through the opening to hold the paired top corners, and draw the cover down over the insert.
Either is fine. What causes bunching is skipping the alignment step: stuffing the insert in first, then trying to square it up through a closed opening. Our duvet cover guide has the full step sequence for both methods.
4. Fix the mismatch itself
If the cover is genuinely much larger than the insert, anchoring is a workaround and a size change is the repair.
- Measure the width and length of both pieces, after they have each been laundered once.
- Compare width to width and length to length, not size name to size name.
- If the cover is larger in both directions by more than a couple of inches, replace one piece rather than tightening ties to compensate.
- If the insert is larger than the cover by a few inches, that may well be intended. It should still close without strain and spread across the case.
Insert and comforter naming is part of the problem, since sellers do not use the words consistently. Our duvet and comforter comparison covers that, and our duvet buying guide covers choosing dimensions and warmth from scratch.
5. Reduce the pull on a shared bed
If one sleeper reliably drags the duvet to their side, two smaller duvets with their own covers remove the tug of war entirely. Two inserts sharing one ordinary cover usually does not work, because they overlap and compete for the same attachment points.
Also stop tucking a duvet cover under the mattress. It anchors the outer fabric while the insert keeps moving inside it, which concentrates the bunching at the foot.
When the lumps are inside the insert

If the insert is lumpy or heavy at one end when it is out of the cover, the problem is the fill, and no tie will reach it.
Construction sets the ceiling
Downlite, a down bedding manufacturer, explains that baffle box construction uses internal fabric walls between the top and bottom shells so the down can loft fully and stay uniformly distributed. Channel-stitched comforters commonly let the feathers shift from one side to the other, creating warm and cold patches, and sewn-through construction loses insulation along the stitch lines because there is no fill where the two shells meet 16.
If your insert is channel stitched, some end-heaviness is built into it. Shaking it out redistributes the fill within each channel, and it will drift again. That is a property of the product, not a mistake you are making.
Drying is where clumps are usually created
Washing a down insert is generally fine for the filling. IDFL, a down and feather testing laboratory, says washing with mild soap and tumble drying until completely dry maintains the puffiness and fill power of down, and notes that dry cleaning can strip fats and oils that keep down resilient. It also points out that the shell fabric, not the fill, decides which method is allowed 17.
Downlite's own guidance for its comforters is a warm wash on the delicate cycle with mild detergent, drying on low, tennis balls in the dryer to help fluff the fill, and an expectation that drying takes four to twelve hours 16. Follow the label on your own insert rather than transferring one brand's instructions to another product.
In practice:
- Pull the insert out partway through drying and break up damp clumps by hand.
- Check the seams and corners before you decide it is dry. Fill that is still damp in the middle sets into clumps as it cools.
- Never reinsert a duvet that is not completely dry.
Routine fluffing helps loft, not migration
Shaking the duvet out each morning restores surface loft and is a reasonable habit. It does not move fill back across a channel or through a torn baffle. If large areas are permanently empty, the insert is worn out and a new one is the fix.
Fixes that do not hold up

- A better closure. Zippers, buttons, and press studs stop the insert coming out of the opening. They do not hold the far corners, so a zipped cover can still bunch 5.
- A heavier duvet. Weight is not an anchor. A heavier insert still slides inside a cover that gives it room, and a heavier duvet is harder to lift, wash, and dry.
- Shaking it out every morning. Useful for loft, cosmetic for shifting. Whatever moved the insert last night will move it again tonight.
- Buying a bigger cover. Extra room is the problem, not the solution.
One real safety boundary
Do not solve a bunching problem in a baby's bed by making the duvet more secure. The American Academy of Pediatrics advises keeping loose blankets, pillows, stuffed toys, bumpers, and other soft items out of an infant's sleep space 18. A duvet, an insert, a cover, and any clip or tie you add to them all belong outside that space, not better fastened inside it.
For any bed, keep pins, broken snaps, and detached hardware out of the bedding rather than leaving them in place until the next wash.
FAQs
Why does my duvet always end up at the foot of the bed?
Because nothing is holding the top corners and the insert has room to slide. Check that the cover has interior ties and that the insert has matching loops, connect them while the cover is inside out, and compare the two pieces' measured width and length. If the cover is several inches larger in both directions, the slack itself is the cause.
My cover has ties but my insert has no loops. What should I do?
Add anchors that grip rather than pierce. Snap tabs and padded clips both attach the two layers at the corner without a needle, and a loose elastic loop stitched or looped onto the insert's corner gives a tie something to pass through 1114. Avoid safety pins, and check the maker's policy before sewing into the insert, since alterations can end your ability to return it 15.
Should the insert be bigger than the cover, or the other way around?
Judge it by the two products' actual dimensions. Several brands that sell both pieces make the insert a few inches larger than the cover in both directions, and IKEA gives the duvet and the cover the same nominal size 789. None of them build in extra room around the insert, which is the arrangement that lets it travel.
Can a duvet cover with a zipper still bunch?
Yes. The zipper closes the opening and nothing more. Covers that rely on a closure alone, without interior ties or snaps, leave the corners free to move 5. Look for interior attachment points, or add them.
Is bunching worse with down than with a synthetic fill?
How the insert is compartmented matters more than the name of the filling. Baffle box construction holds loose fill in sealed chambers, while channel stitching lets it slide from side to side and produce warm and cold patches 16. Check the construction on the label or product page before you assume the fill type is the problem.
How do I stop the duvet cover itself from twisting in the dryer?
Dry it on its own rather than with the insert or a full load, use the heat setting on its label, and take it out promptly and shake it flat. Cotton covers can also shrink, and IKEA lists up to 4 percent for one of its cotton covers, which changes how that cover fits the insert afterward 6.
The bottom line
Bunching is a mechanical problem with a short list of causes. Nine times out of ten the insert is not attached to anything, there is more cover than insert, or the insert went in a quarter turn off.
Take the insert out, lay both pieces flat, and check the anchors and the measurements. Connect every tie or clip while the cover is inside out, then match the two pieces properly if the slack is real. If the insert is lumpy on its own, the answer is in its construction and its drying, not in anything you fasten to it.